How To Fix 'Exceeds 20 Megapixels' on Shopify?
.png)
Are you trying to upload images and getting an error message that says 'Exceeds 20 Megapixels' on Shopify?
Don't worry, this is a common problem encountered by merchants on the platform. Shopify images sizes can be somewhat confusing.
In this post, we'll show you 6 methods to troubleshoot the annoying 'exceeds 20 megapixels' error and upload your images.
Let's jump in.
What Does the “Exceeds 20 Megapixels” Error Mean in Shopify?
The "Exceeds 20 Megapixels" error in Shopify means that the image you are attempting to upload or use for a product exceeds the platform's specified image size limit.
In this context:
- Megapixels refer to the total number of pixels in an image. One megapixel is equal to one million pixels.
- 20 megapixels means that the maximum resolution for an image is 20 million pixels.
If your image's dimensions or resolution exceed this limit, Shopify will not accept it. This restriction is in place to optimize website performance and loading times, as very large images can slow down your online store and create a poor user experience.
To resolve this error, you'll need to resize or compress the image to meet Shopify's requirements, as mentioned in the earlier responses. This typically involves reducing the image's dimensions or decreasing its quality slightly to fit within the 20-megapixel limit while maintaining an acceptable level of visual quality.
Let's cover how to do that now:
How to Fix the 'Exceeds 20 Megapixels' on Shopify
Resize the Image With Photoshop or Canva
Resizing images for your Shopify store is essential for optimizing page loading times, improving user experience, and ensuring your website runs smoothly. Here are some best practices, tools, and an example to guide you through the process:
Best Practices for Resizing Images:
- Maintain Aspect Ratio: When resizing images, it's crucial to maintain the original aspect ratio (the proportional relationship between width and height) to avoid distortion. Scaling images uniformly ensures they still look visually appealing.
- Choose the Right Dimensions: Determine the optimal image dimensions based on your theme and design. Shopify recommends a maximum image size of 2048 x 2048 pixels for square product images and 2048 x 1536 pixels for rectangular images.
- Image File Format: Use the appropriate file format for your images. JPEG is suitable for photographs, while PNG is best for images with transparency, such as logos.
- Compression: Compress your images to reduce file size while maintaining acceptable quality. Striking the right balance between file size and image quality is key. Lossless compression retains image quality, while lossy compression reduces file size but can result in some quality loss.
Best Tools for Resizing and Compressing Images:
There's several tools you can use to resize images - here's our four top picks:
- Adobe Photoshop: A professional image editing software that allows you to resize and compress images while maintaining quality.
- Canva: A user-friendly online tool that provides resizing and compression options. Canva is great for non-designers & the basic plan is also free to use.
- TinyPNG/TinyJPG: Online tools for compressing PNG and JPEG images. They use smart compression techniques to reduce file size without a noticeable loss in quality.
- ImageOptim: A free desktop application for macOS that optimizes images by reducing their file size.
Let's Look at an Example Fix
Let's say you have a product image that's 4000 x 3000 pixels and exceeds Shopify's recommended maximum dimensions of 2048 x 1536 pixels. Here's how you can resize it using a tool like Canva:
- Upload the Image: Go to Canva (canva.com) and create a free account if you don't have one. Then, click on "Create a design" and choose "Custom dimensions."
- Set the New Dimensions: Enter the new dimensions, e.g., 2048 x 1536 pixels, and create a new design.
- Upload Your Image: Click on the "Uploads" tab, and then drag and drop your large image into the Canva design canvas.
- Resize and Crop: Adjust the image within the canvas to fit the new dimensions. Canva provides visual guides to help you align and resize the image proportionally.
- Download the Resized Image: Once you're satisfied with the resized image, click "Download" and choose the appropriate format (JPEG or PNG) and quality settings. Shopify prefers JPEG for product images.
- Upload to Shopify: Now, you can upload the resized image to your Shopify store.
Remember: always keep backups of your original high-resolution images in case you need them for other purposes in the future.
Other Ways to Fix the 'Exceeds 20 Megapixels' Error
Use Shopify's Image Resizer
.png)
Shopify offers a free online image resizer that makes optimizing your images quick and easy. Follow these simple steps to resize your images for Shopify:
- Go to Shopify’s Image Resizer
- Visit the Shopify Image Resizer in your web browser.
- Upload Your Image
- Click on the “Add image” button.
- Select the image you want to resize from your computer.
- Ensure the file size and format meet basic upload requirements (JPEG or PNG).
- Choose the Image Size
- Shopify offers three resizing options:
- Small (for thumbnails and icons): 300 x 300 pixels.
- Medium (ideal for product pages): 600 x 600 pixels.
- Large (for banners and high-quality visuals): 1024 x 1024 pixels.
- Select the size that fits your needs.
- Shopify offers three resizing options:
- Resize Your Image
- Click the "Resize Images" button.
- The tool will process your image and optimize it for the selected size.
- Download the Resized Image
- Once the image is resized, click the "Download" button.
- Save the file to your computer in an easily accessible folder.
- Upload to Shopify
- Go to your Shopify admin dashboard, and upload the resized image to your product, collection, or theme settings.
Tips for Using Shopify's Resizer Effectively
- Preview Before Downloading: Double-check the quality after resizing to ensure it meets your expectations.
- Batch Resize for Efficiency: For multiple images, use bulk resizing apps from the Shopify App Store to save time.
- Test for Speed: Upload resized images and test your site speed using tools like Google PageSpeed Insights to see the impact.
Use a Third-Party Shopify App
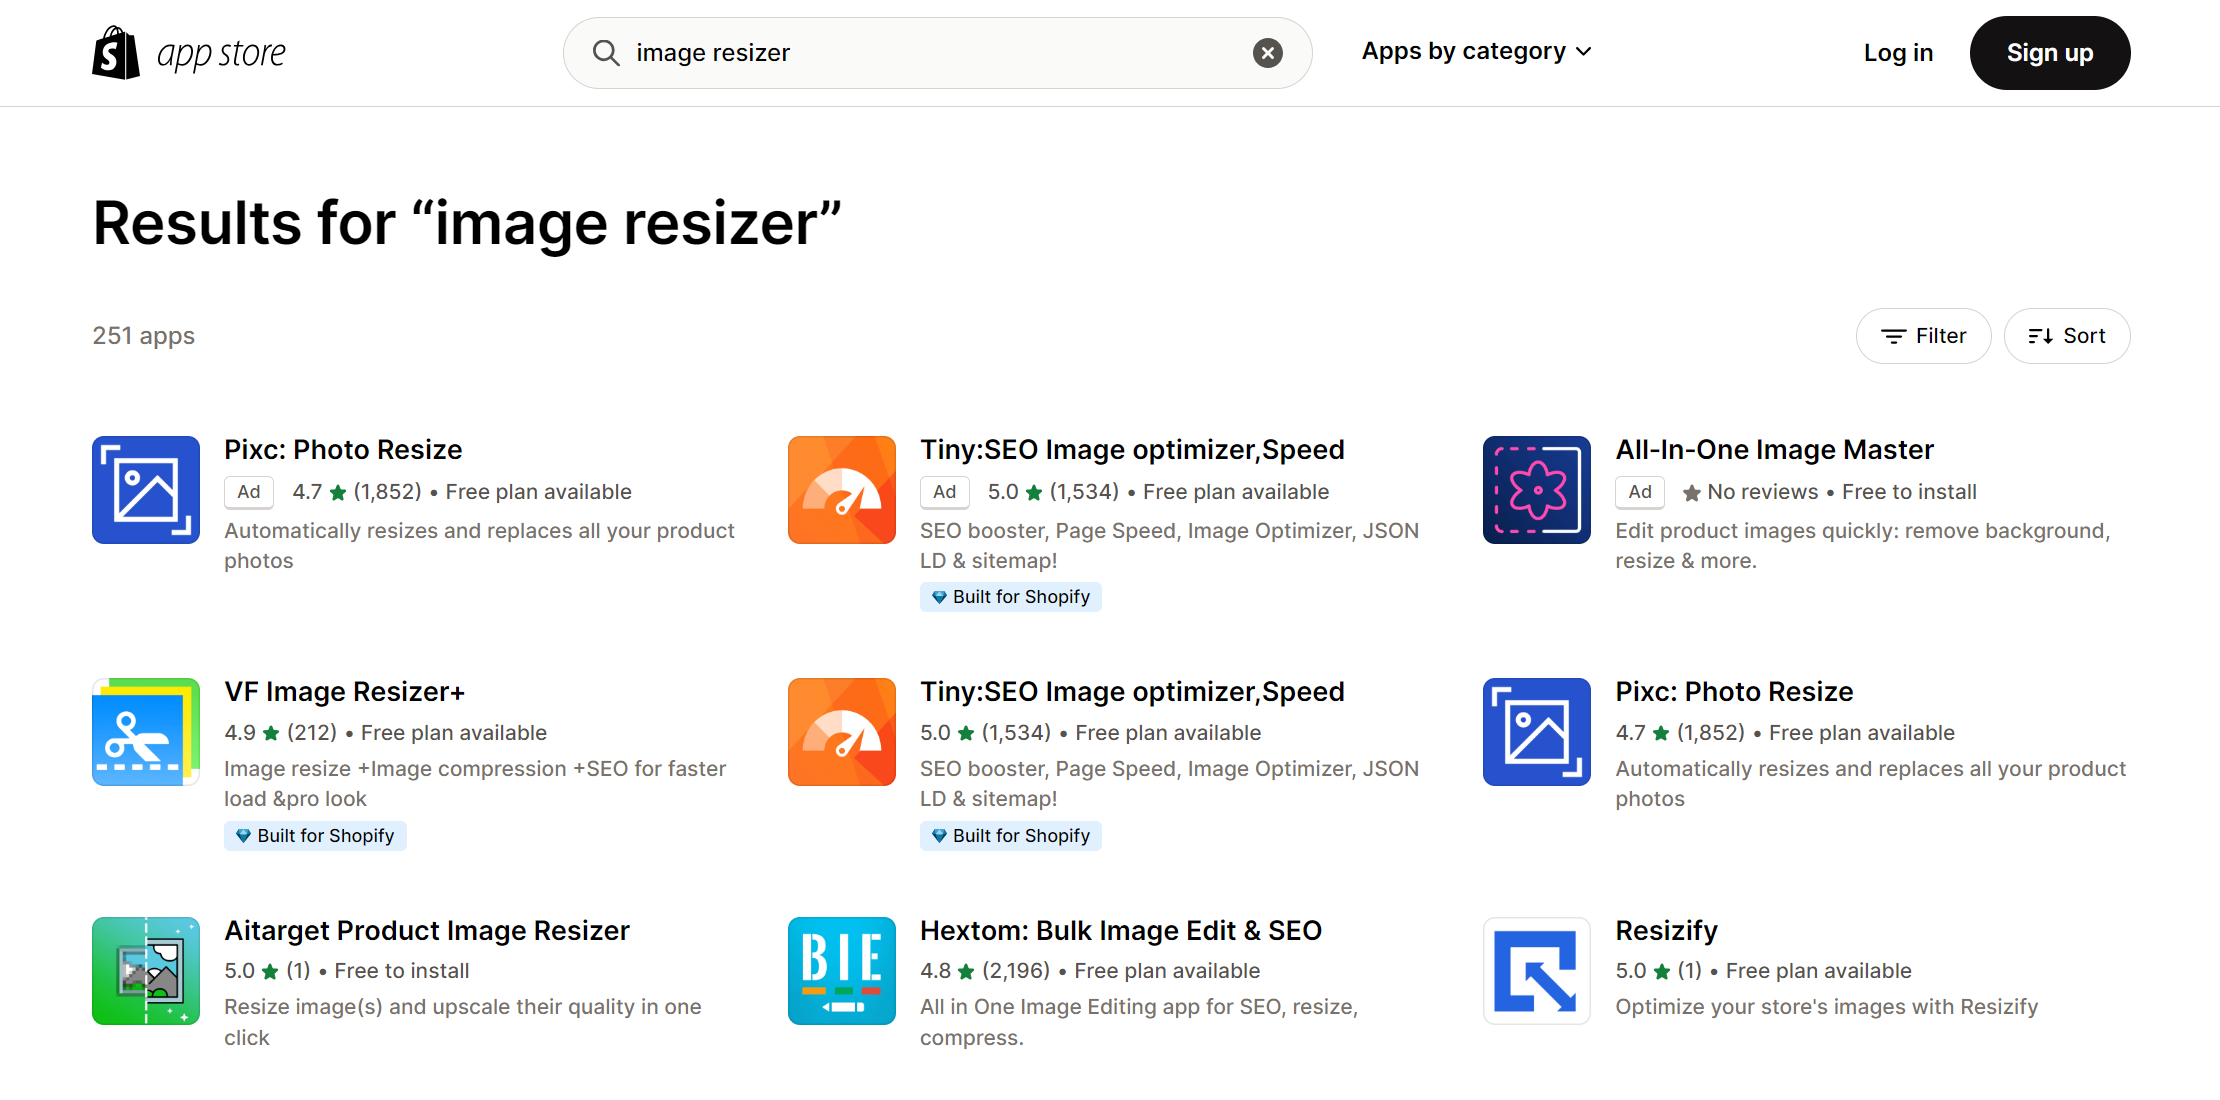
There are third-party apps available on the Shopify App Store that can help optimize images. These apps can automatically resize and compress your product images. They're especially useful if you have a lot of images - as these apps can handle bulk resizing with ease.
Pro Tips for Managing Images on Shopify
To ensure your images are optimized for performance and visual appeal, here are some pro tips that can help streamline your workflow and enhance your Shopify store:
1. Always Maintain Aspect Ratios
- When resizing images, keep the original aspect ratio intact to avoid stretching or distorting visuals.
- Use tools with "lock aspect ratio" options to simplify the process.
2. Compress Without Compromise
- Reduce image file sizes to improve load speeds without sacrificing quality.
- Use tools like TinyPNG or ImageOptim to compress images efficiently.
- For bulk image management, consider Shopify apps like Crush.pics or TinyIMG SEO Image Optimizer.
3. Choose the Right Dimensions
- Aim for Shopify's recommended dimensions:
- Product images: Up to 2048 x 2048 pixels (for zoom functionality).
- Banner images: Check your theme's specific requirements.
- Thumbnails: 300 x 300 pixels.
4. Use the Right File Format
- JPEG: Best for product photos due to smaller file sizes.
- PNG: Ideal for graphics with transparency, like logos.
- WebP: A modern alternative supported by Shopify that balances quality and file size.
5. Keep High-Resolution Backups
- Store original, high-resolution images on your computer or cloud storage for future use (e.g., marketing materials or re-editing).
6. Optimize for Retina Displays
- Retina screens (common on Apple devices) require higher pixel densities to display crisp images. For key visuals like banners, use double the pixel dimensions (e.g., 2400 x 1600 instead of 1200 x 800) and compress them to maintain fast load speeds.
7. Test Image Load Speeds
- Use tools like Google PageSpeed Insights or GTmetrix to ensure your images don’t slow down your site.
- Optimize oversized images flagged in the report.
8. Leverage Lazy Loading
- Activate lazy loading in your Shopify theme settings to defer loading images until they appear on the user's screen. This improves overall page load speed.
9. Double-Check Theme-Specific Image Requirements
- Every Shopify theme has unique image recommendations. Consult your theme’s documentation to ensure images look perfect across all devices.
10. Regularly Audit Your Images
- Periodically review your images to ensure they’re still optimized and up to date. Replace outdated visuals to keep your store fresh and engaging.
For more information on optimizing images on your Shopify store read our guide: The Definitive Guide to Shopify Image Sizes in 2025
Note: Double Check Theme Requirements
Sometimes, the theme you are using in Shopify might have its own image size requirements. Make sure to consult your theme's documentation to ensure you are using images that align with its recommendations.
If All Else Fails, Contact Shopify Support
If you've tried the above steps and are still having issues, it's a good idea to reach out to Shopify's support team. They can provide specific assistance based on your unique situation.
Fix Your Images For Shopify Today
In the world of e-commerce, image optimization is paramount. Understanding and adhering to Shopify's 20 megapixel limit ensures your online store runs smoothly while delivering visually stunning product displays. By resizing and compressing images effectively, you can create a seamless shopping experience that captivates customers and boosts conversions.
Exceeds 20 Megapixels Shopify FAQ
Let's quickly cover some of the most commonly asked questions relating to the exceeds 20 megapixels error on Shopify.
What is the 20 megapixel limit on Shopify?
The 20 megapixel limit on Shopify refers to the maximum image resolution allowed for product images on the platform. It's a restriction in place to optimize website performance and ensure fast loading times.
How do I exceed the maximum image resolution of 20 MP in Shopify?
You may exceed the maximum image resolution of 20 MP in Shopify unintentionally when using high-resolution images, often captured by professional cameras or generated by graphic design software. These images can contain more detail than necessary for web display, leading to larger file sizes that may slow down your online store's loading times. It's important to optimize images to strike a balance between visual quality and website performance.
What is the maximum megapixel size for Shopify?
Shopify's maximum megapixel size for images is 20 megapixels. This means that product images should not exceed 20 million pixels in total.
What does 20 megapixels mean?
20 megapixels (MP) represents the total number of pixels in an image. Specifically, one megapixel is equivalent to one million pixels. So, 20 megapixels equals 20 million pixels in an image.


Relevant Blogs

.jpg)

